Removing a Layout within a Schedule
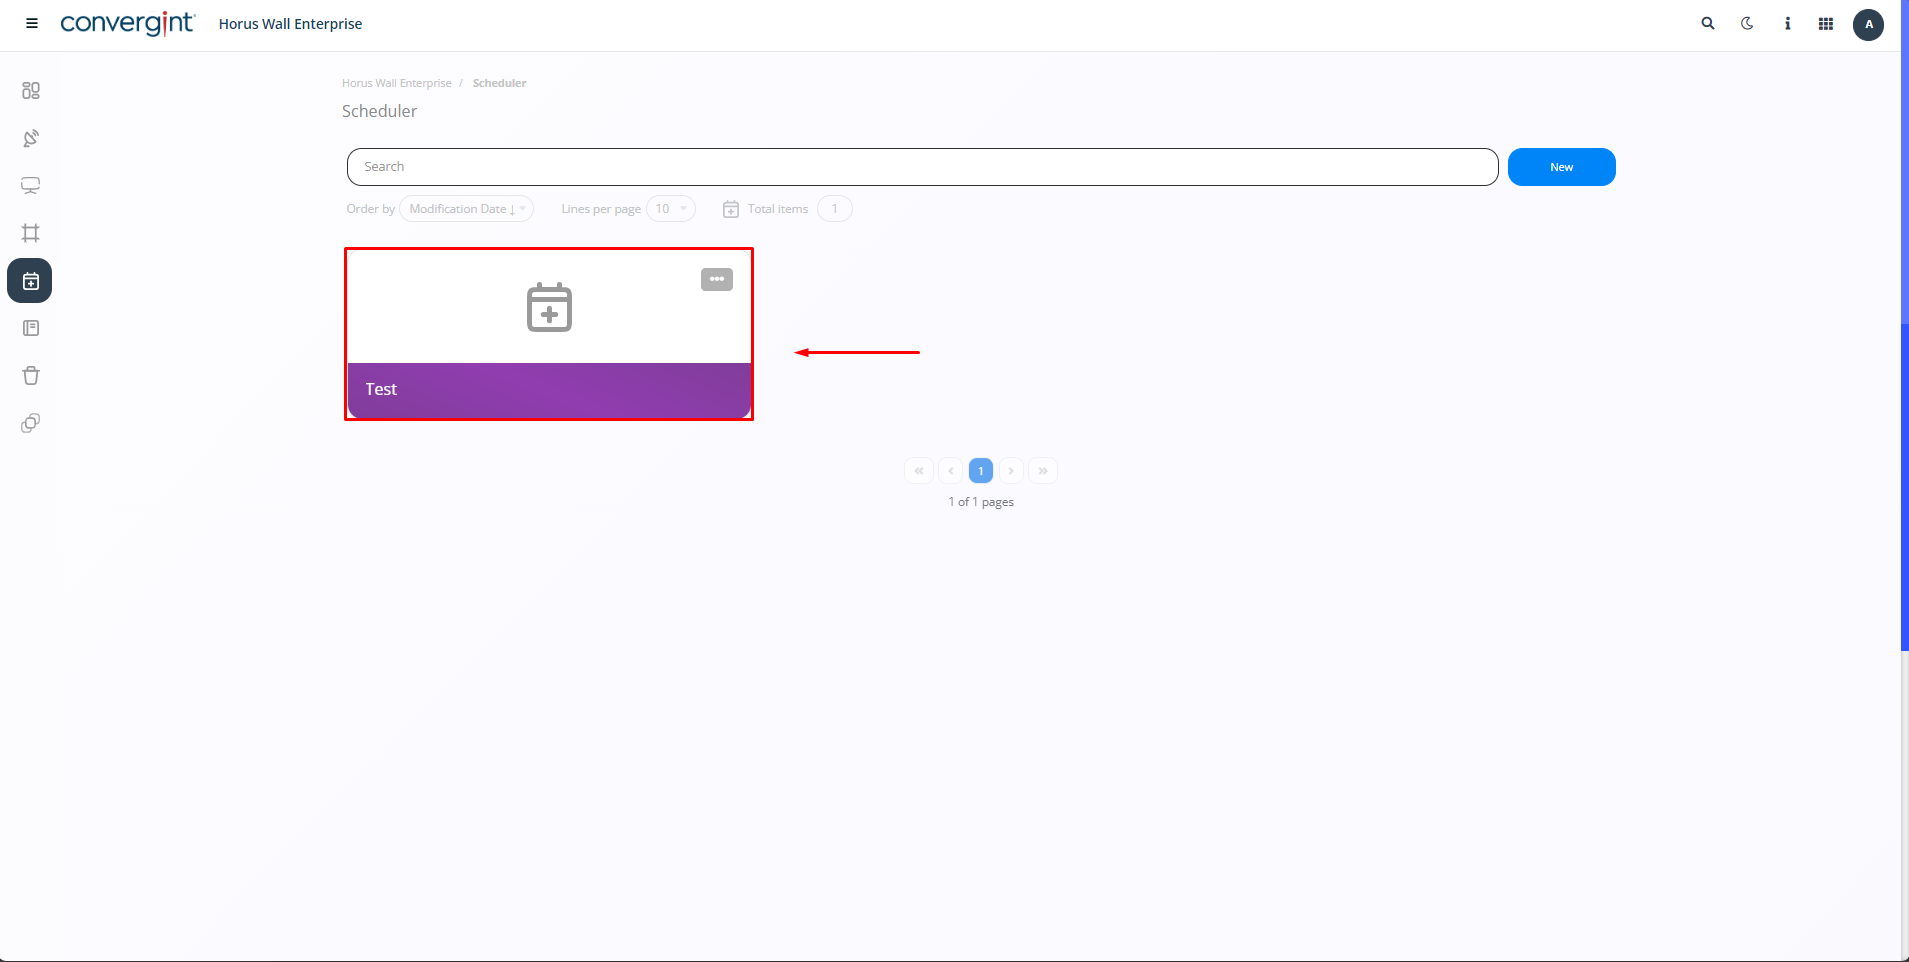
By following the steps described above, the schedule will be registered. To remove a layout belonging to the schedule, you need to access a previously created schedule that you want to remove the associated layout from.
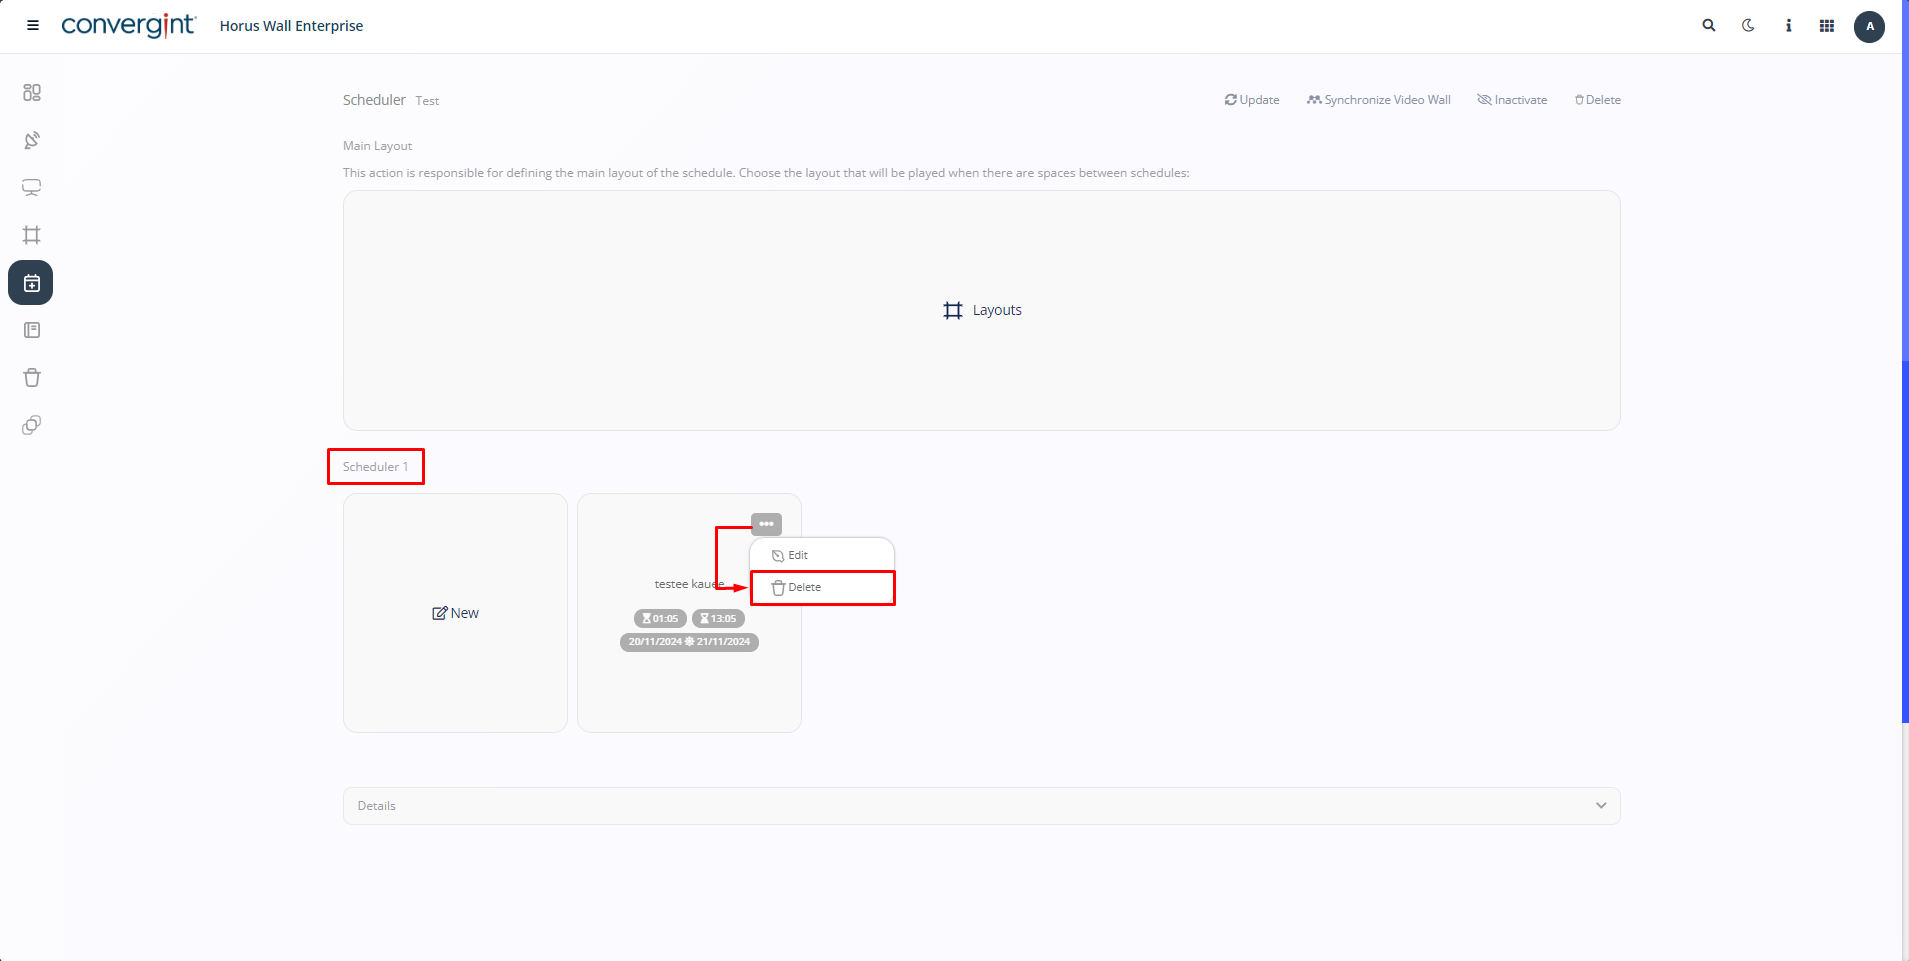
When you access the system, the Scheduler interface will be displayed. In this interface, you can Remove the Layout from the Scheduling Grid. To do this, click on the “More Options” icon located next to the Layout in the Scheduling Grid and then select the “Delete” option to Remove the selected Layout.
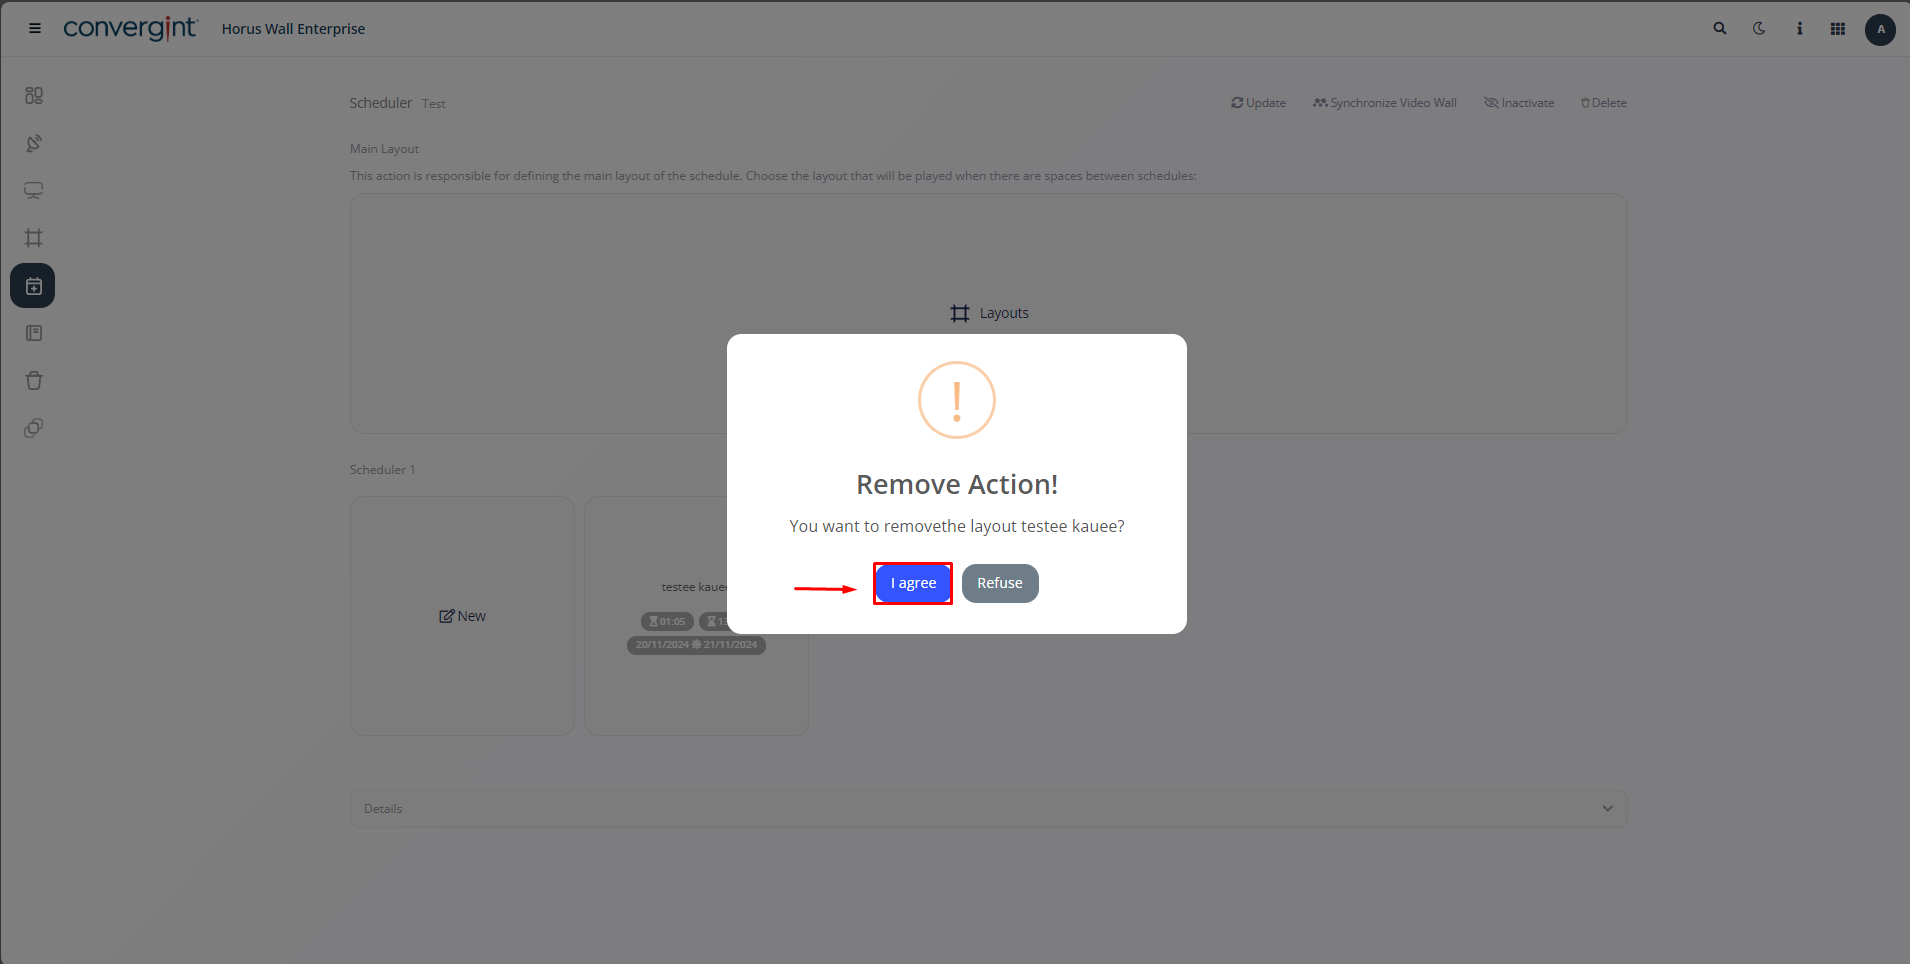
By selecting the option, a pop-up will appear asking for confirmation before proceeding with the removal of the layout within the schedule Then click on “I Agree” for the removal to take place.
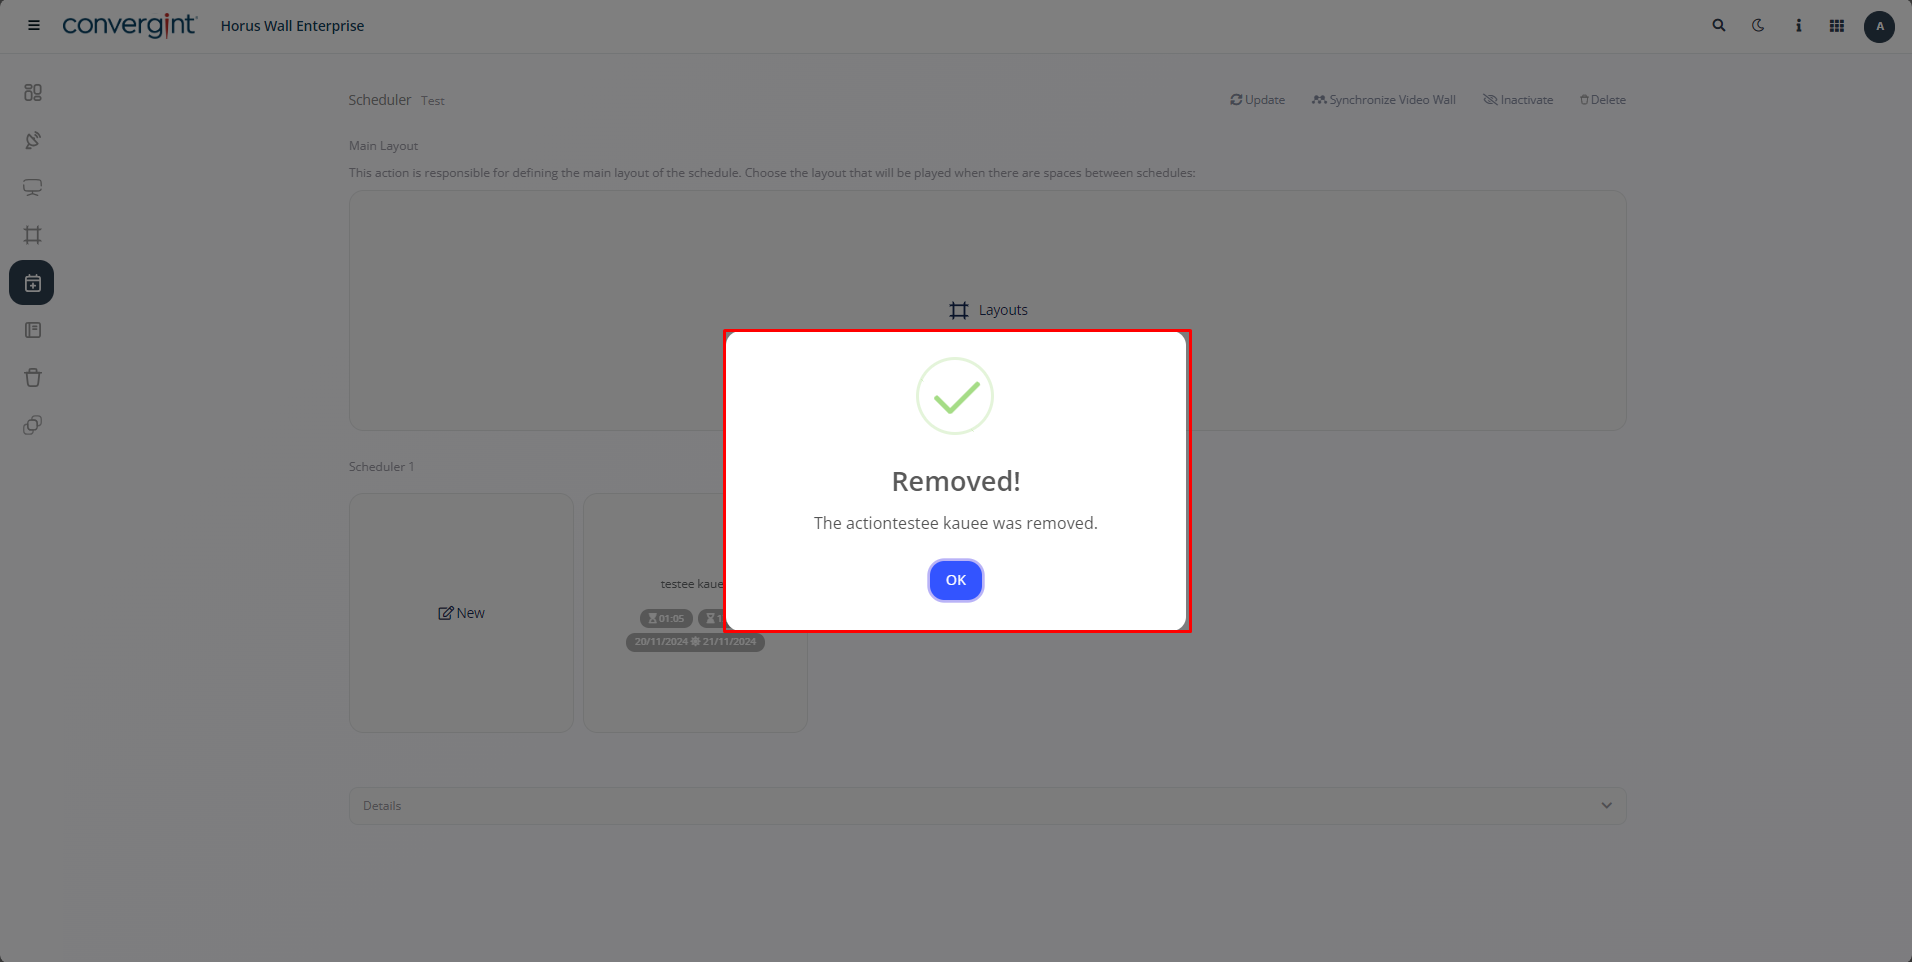
By clicking “I Agree”, the layout will be removed.